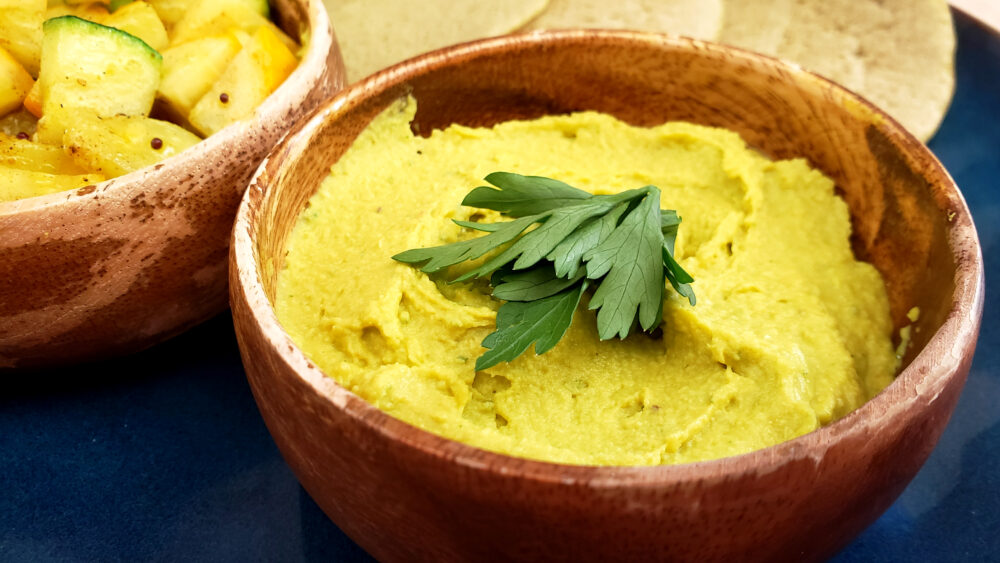
 Hummus is one of my favorite foods to eat during the summer months, whether as a healthy snack or light dinner. And although I love playing around with a wide variety of hummus recipes, I honestly prefer this basic recipe to any other! This classical hummus recipe has all the necessities of chickpeas, tahini, lemon, and parsley; along with a few Ayurvedic spices to add a little extra flavor, color, and health properties.
When making hummus, I strongly recommend using high-quality, fresh, and vibrant ingredients including cooking your own chickpeas. I personally use my beloved stovetop pressure cooker and have super soft chickpeas in about 40 minutes. An Instant Pot or slow cooker are also simple options for hands-off cooking. Other than this, using freshly squeezed lemon (or lime) juice, fresh parsley, fresh chili pepper (if using), raw tahini, and freshly ground spices make all of the difference in making delicious, nutrient-rich hummus!
So how do you enjoy your hummus? I love eating a few spoonfuls as a light and healthy snack. With so much protein and fiber in a small serving, it is a great option for curbing your hunger between meals or for supporting muscle recovery post-workout.
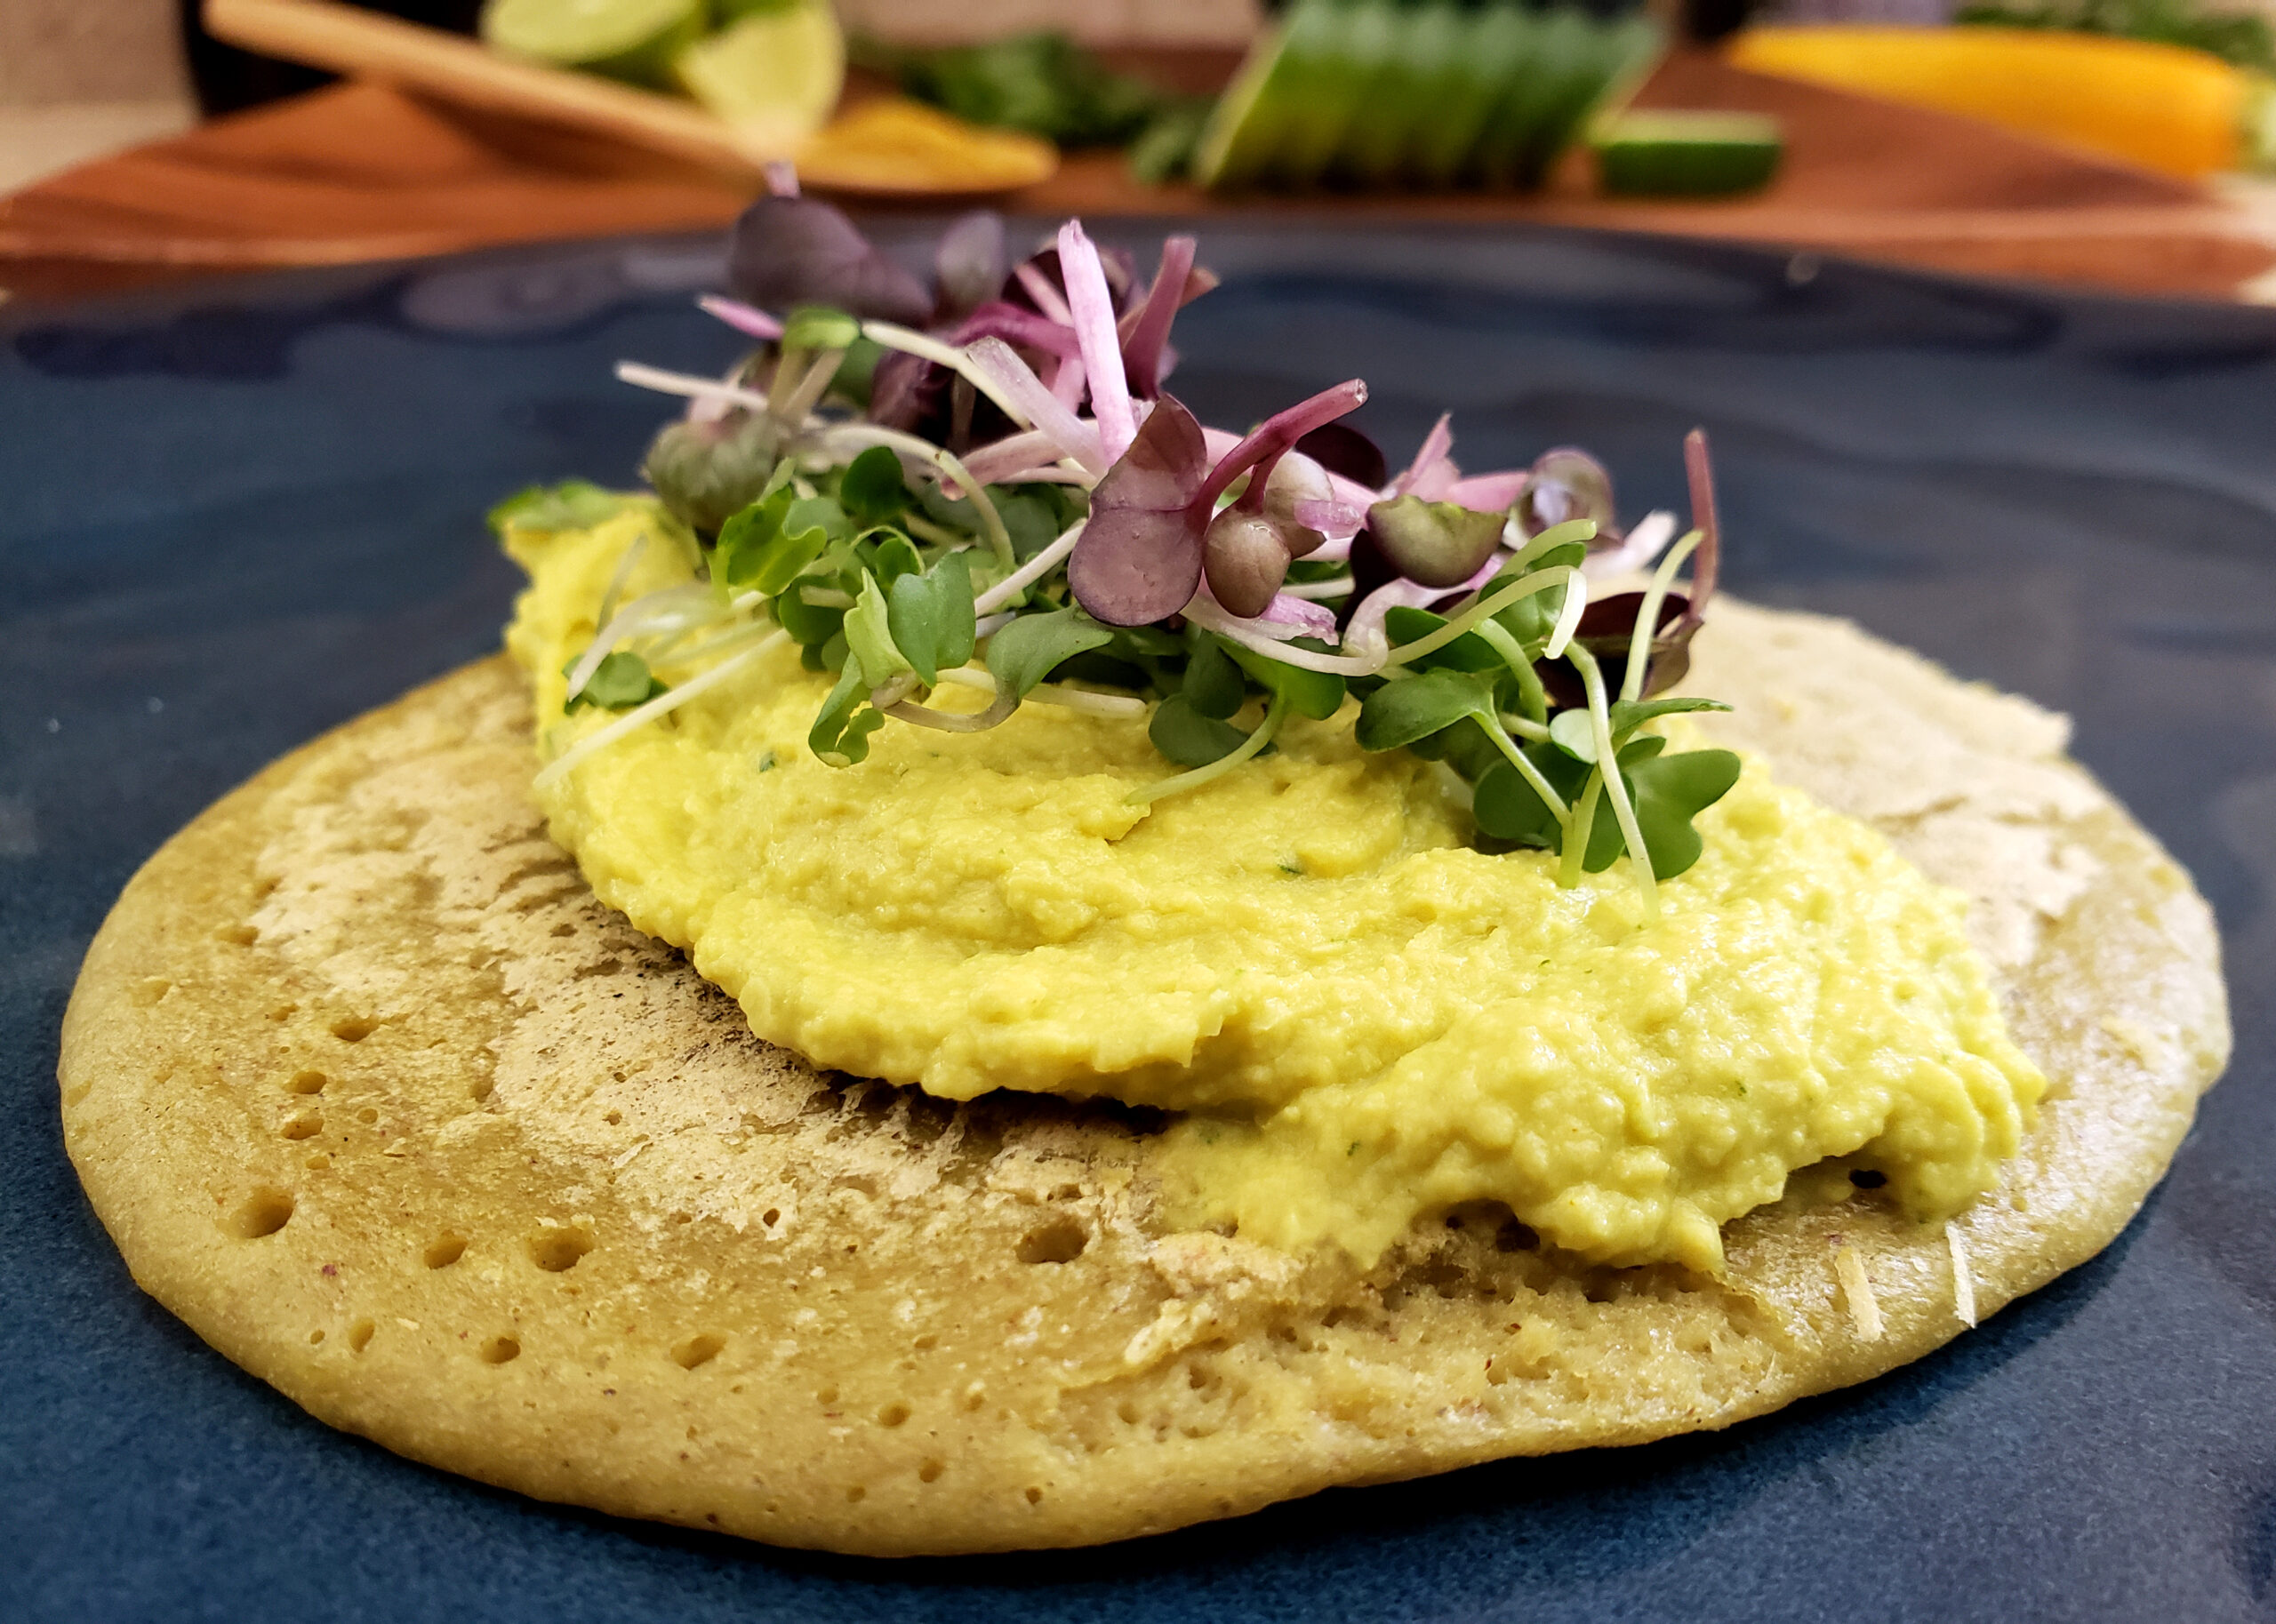
I equally enjoy eating hummus as a light dinner paired with some sautéed greens or steamed summertime veggies. On the seldom occasions that I prepare a salad, hummus is an absolute must (and lots of it!). When I am feeling a bit indulgent, I may even make a buckwheat dosa to make a wrap (stay tuned—recipe to come!). Although hummus can be a bit too snacky to feel like a real meal, when it is paired with a bowl-full of cooked veggies and whole grain, it can be a very satisfying light dinner for the summer months!
Besides being oh-so-tasty, here are a few more reasons why I love hummus:
- Contains about 16 to 18 grams of protein per cup
- Becomes a perfect protein when eaten with a whole grain (like a delicious buckwheat dosa, whole grain pita, or whole grain chapati)
- Contains over 13 grams of fiber per cup (great for microbiome health!)
- Great source of Manganese, Folate, Copper, Iron, Zinc, Calcium, Magnesium, and Vitamin A
- Sustains appetite, energy, and blood sugar levels
- Supports healthy weight management
- Fights against heart disease, cancer, and type 2 diabetes
- Supports brain health
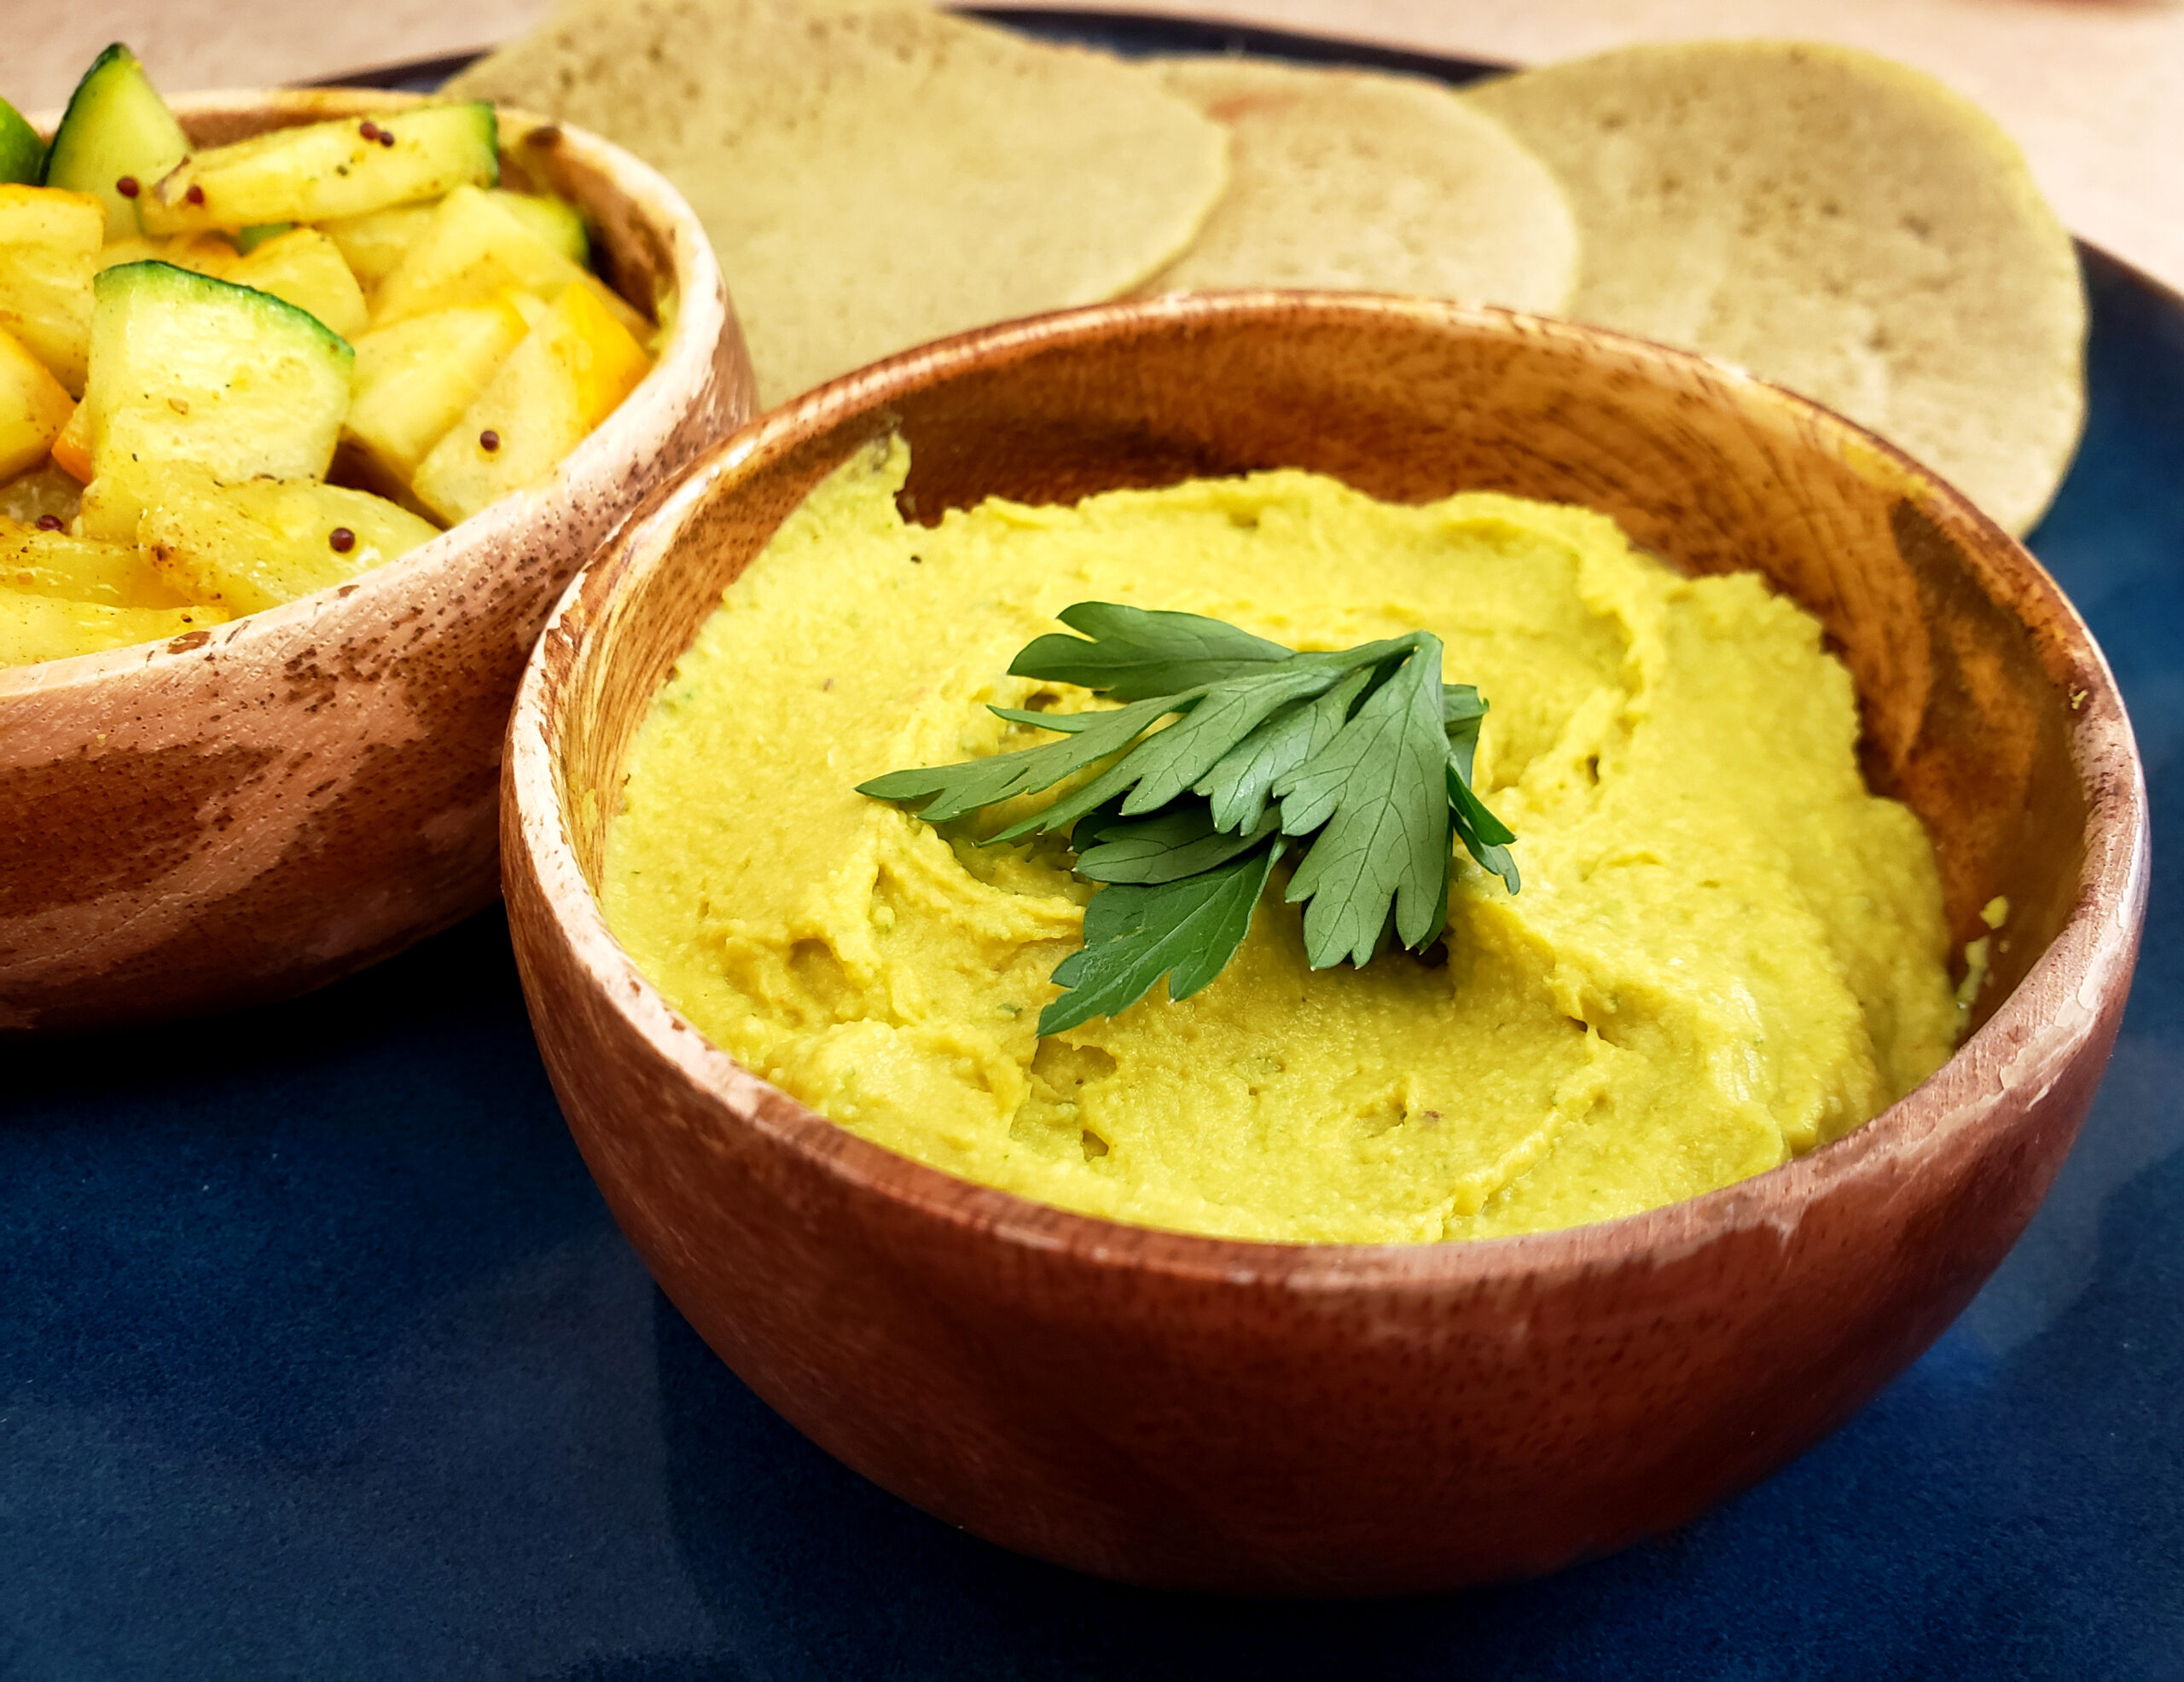
Best Basic Hummus Recipe
Click here for a printable copy of this recipe.
- Doshic effect: Vata↑*, Pitta↓, Kapha↓
- Makes: 3½ cups
- Cook Time: 50 to 60 minutes (if cooking chickpeas); no cook time if using canned beans
- Prep Time: 20 minutes
*Balanced Vata can enjoy in moderation during the summer months.
Materials
- Pressure cooker (I love my Fissler pressure cooker!), Instant Pot, or slow cooker (optional, will not need if using canned beans)
- Measuring spoons and cup
- High-speed blender or food processor (I use my Blend Tec with perfectly smooth results)
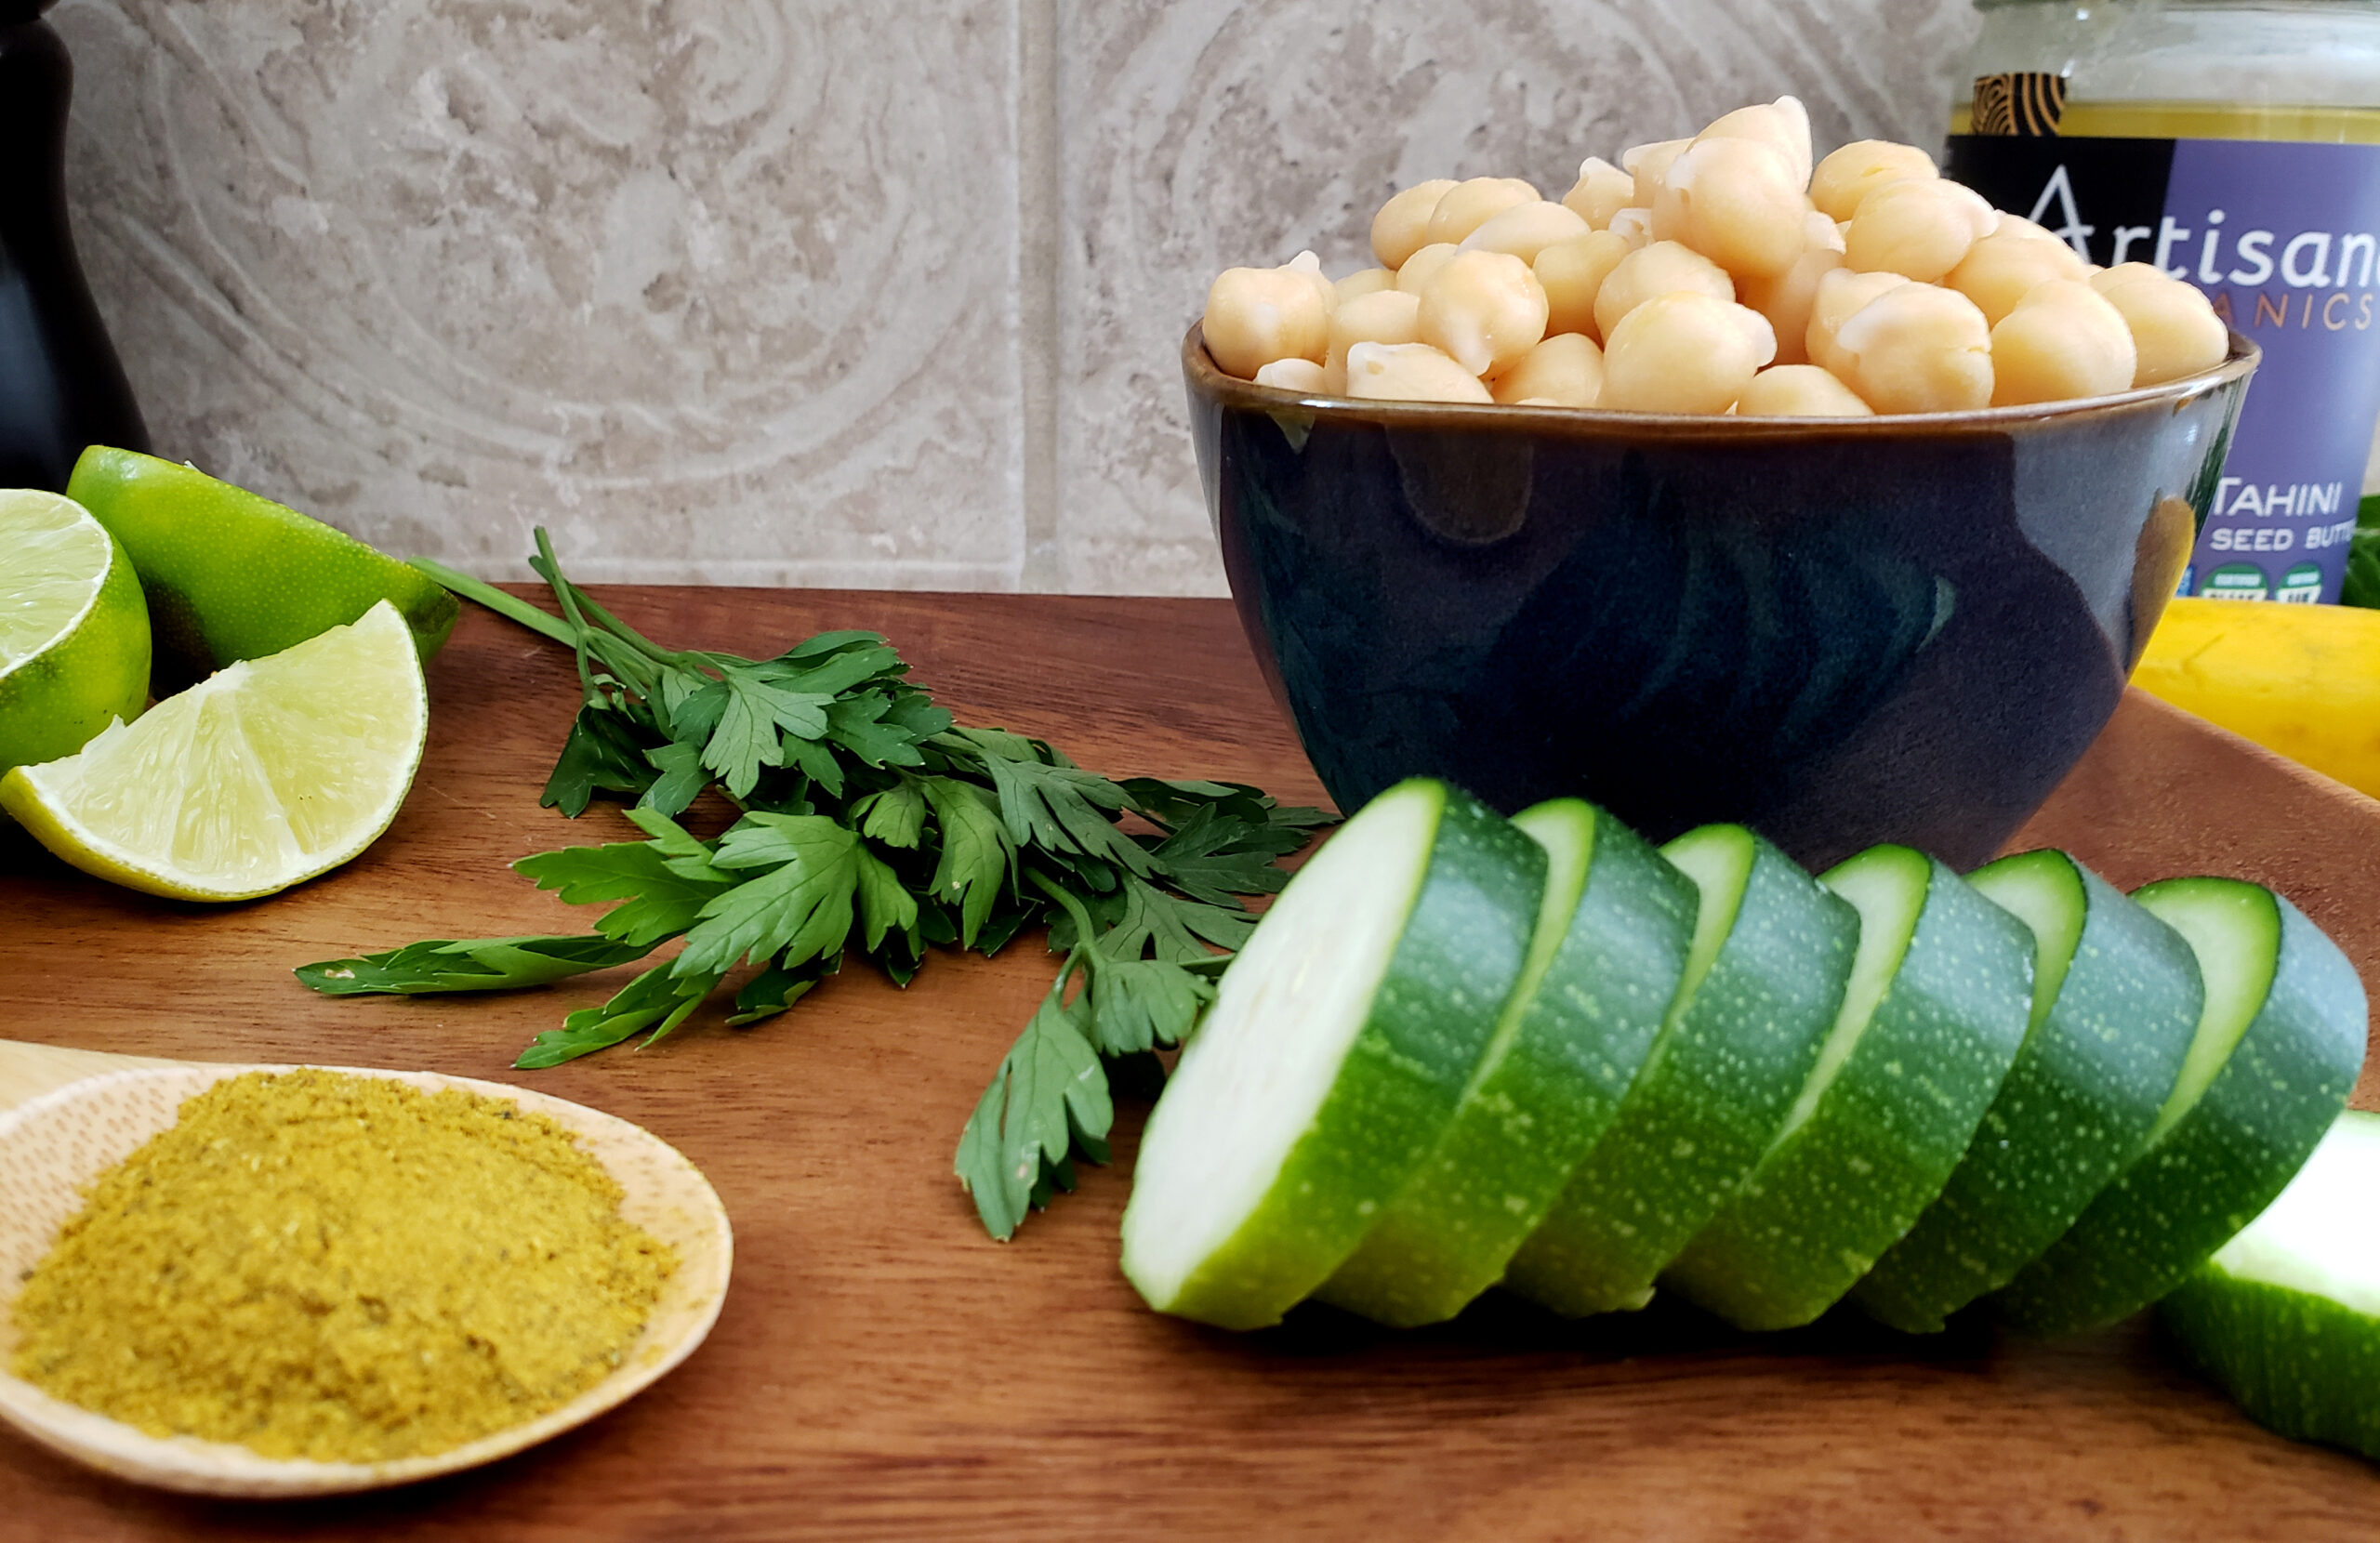
Ingredients
- 1 cup chickpeas, uncooked (substitute with two 15 oz can chickpeas)
- 1/2 cup olive oil
- 1 cup water (ideally from cooking the beans, but plain water works too)
- 1/4 cup tahini (I prefer raw and love this brand)
- 1 large lemon, juiced (use lime for Pitta)
- 3/4 teaspoon Mineral Salt or Pink Himalayan Salt
- 1/8 teaspoon cumin seed (whole or powdered)
- 1/2 to 1 teaspoon Agni Churna* (optional)
- 1 small serrano pepper, chopped (optional, use less or omit for Pitta)
- 1/4 cup fresh parsley, chopped
*Agni Churna can be replaced with 1/4 teaspoon turmeric, 1/4 teaspoon cumin, 1/8 teaspoon ginger, and 1/8 teaspoon black pepper.
Directions
Click here for a printable copy of this recipe.
Cooking the Chickpeas*
*If making from scratch – skip this step if using canned beans.
NOTE: These cooking options do not require soaking the beans, but it is still recommended if time permits. Make sure to rinse beans and remove any potential debris before cooking.
Pressure Cooker Option
1. Add the uncooked chickpeas to your pressure cooker and fill with water until the water is about 2 to 3 inches higher than the beans.
2. Cover securely, and place on high heat until the cooker begins to whistle (about 10 to 15 minutes).
3. Reduce the heat to medium and continue to cook for 22 to 25 minutes.
4. Turn the heat off and let the steam naturally release for at least 15 to 20 minutes.
5. Release any remaining steam and open the lid.
6. Strain but save 1 cup of bean water for the hummus recipe. Set the beans aside until needed. Alternatively, the beans can be stored in glass Tupperware and chilled in the refrigerator overnight to make the hummus the following day.
Instant Pot Option
1. Add the uncooked chickpeas to your Instant Pot and fill with water until the water is about 2 to 3 inches higher than the beans.
2. Cook on high pressure for 50 minutes followed by a 10-minute natural pressure release.
3. Strain but save 1 cup of bean water for the hummus recipe. Set the beans aside until needed. Alternatively, the beans can be stored in glass Tupperware and chilled in the refrigerator overnight to make the hummus the following day.
Slow Cooker Option
1. Add the uncooked chickpeas to your Slow Cooker and cover with water until the water is about 3 inches higher than the beans.
2. Cook on low for 8 to 9 hours or on high for 5 to 6 hours. Cook longer if the beans are not soft all the way through.
3. Strain but save 1 cup of bean water for the hummus recipe. Set the beans aside until needed. Alternatively, the beans can be stored in glass Tupperware and chilled in the refrigerator overnight to make the hummus the following day.
Making the Hummus
1. If using canned beans, strain and rinse then set aside.
2. In this order, add the olive oil, water, tahini, lemon juice, salt, cumin, Agni Churna (if using), serrano pepper, and parsley to a blender or food processor.
3. Add the cooked or canned chickpeas.
4. Blend on high for 1 to 2 minutes or until completely smooth. If the hummus seems too thick, add more water by the tablespoon (add more salt if it begins to lose flavor).
5. The end result should be very smooth, spreadable, not too thick, and not too thin.
6. If you prefer your hummus chilled, place it in an airtight glass jar or Tupperware for a couple of hours before eating. Letting it sit for several hours to overnight makes the flavor pop out even more!
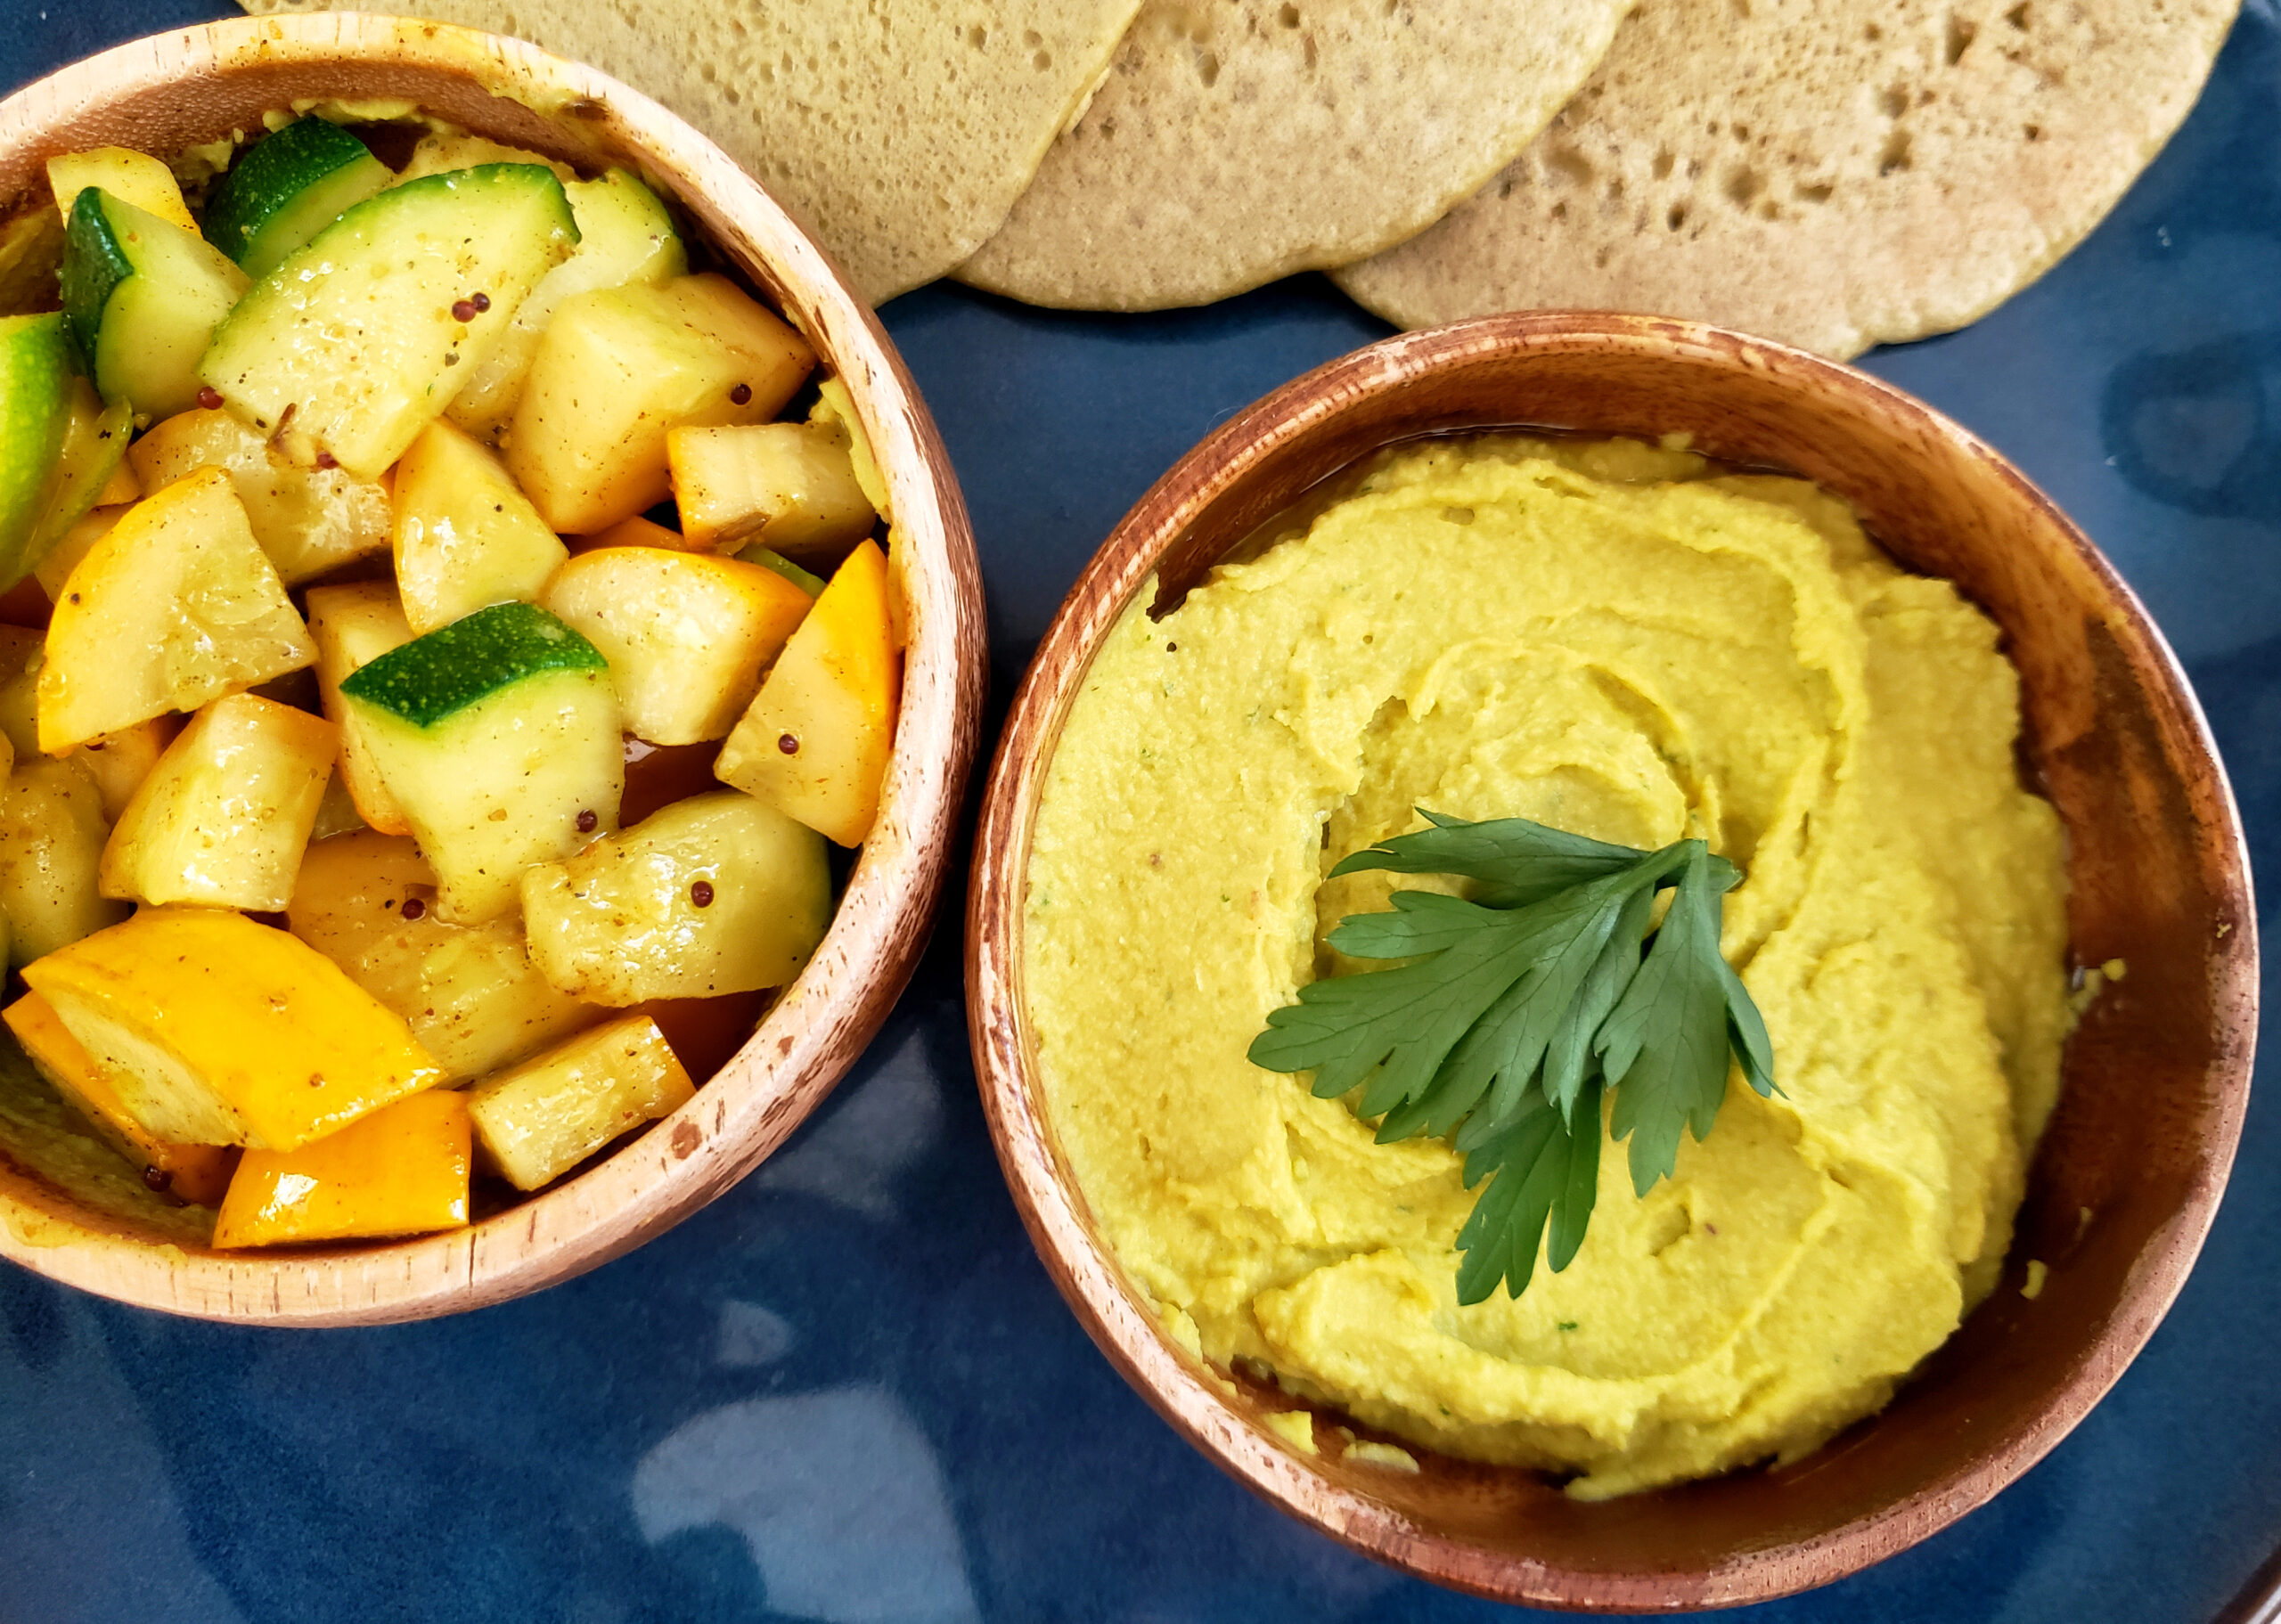
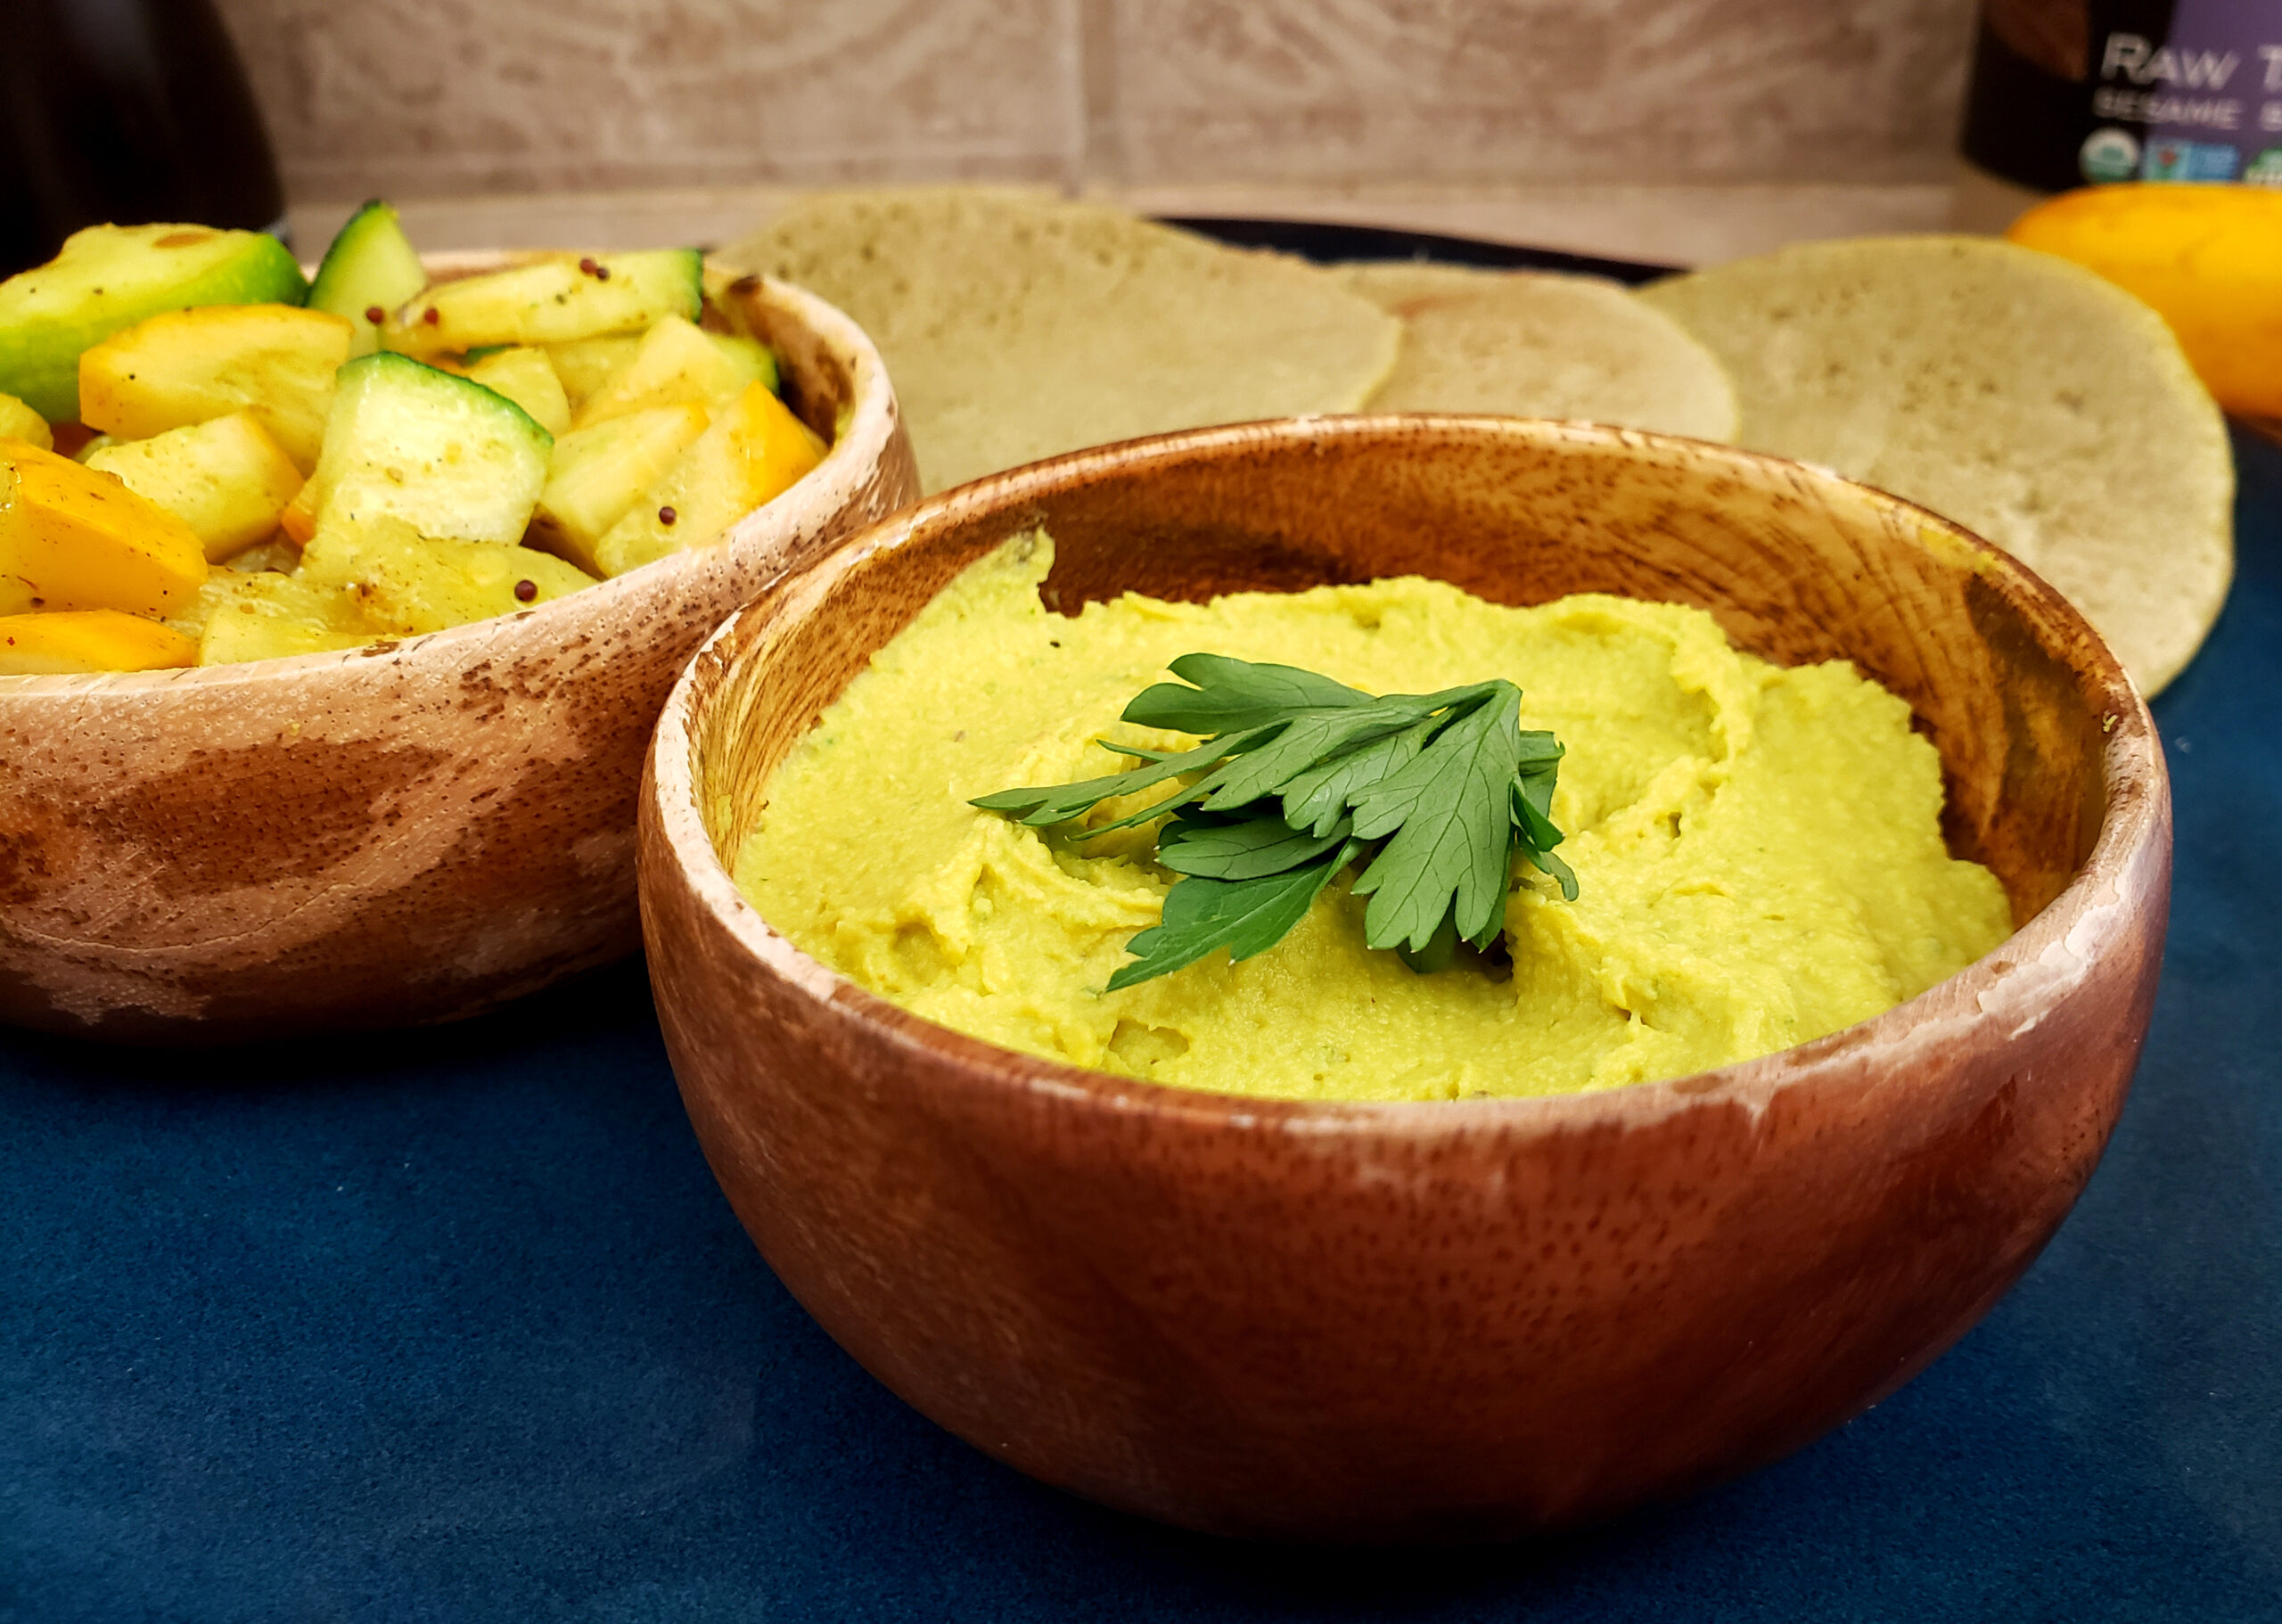
7. Pair with some sautéed greens, steamed veggies, or on a chapati, dosa, or whole grain pita. This is also a great protein-rich addition to a tasty summertime salad!
COMPLEMENTARY RECIPES
Discover more healing recipes with my 30-Minute Ayurvedic Cookbook!
Discover over 100 herbal remedies in my Ayurvedic Herbal Medicine for Beginners book!
*By ordering directly through the suggested Amazon links, you are helping to support Svastha Ayurveda – Thank you!!

