 In Ayurveda, fresh homemade yogurt is said to possess immensely different qualities than its store bought counterpart; the homemade version being healthy, medicinal, cooling, and sweet while the store bought is considered heavy, viscous, stale, heating, and sour. When homemade, kefir shares these same life-promoting properties and is considered even healthier overall due to the vast number of probiotic strains that inhabit one culture (10 to 20+ on average!). Yogurt on the other hand often only contains 1 to 2 strains. If this isn’t enough to get you on board, making homemade kefir is much more simple and fool-proof and can be accomplished with only minutes of prep-time.
Since about 99% of all health issues stem from a weak or imbalanced digestive fire (Agni), taking in a variety of probiotics from real food sources is essential to support healthy gut flora and therefore a healthy You! Unfortunately with our over-stressed, over-medicated society, imbalances in the gut flora known as dysbiosis is beyond prevalent these days. In fact, some of these unwanted bacteria strains that take over in the GI tract have been shown to have a very direct correlation with a wide range of diseases such as Alzheimer’s, type 2 diabetes, chronic fatigue syndrome, allergies, asthma, obesity, metabolic syndrome, celiac disease, IBS, IBD, SIBO, leaky gut, Candida, certain cancers, Autism, and mental-emotional disorders of all kinds.
Although kefir can be made using a non-dairy alternative, this is usually unnecessary since the lactose is mostly broken down by the time the fermentation is complete. Since lactose is often the culprit with dairy intolerance in many individuals, this makes kefir much easier to digest compared to plain milk. Using a high quality, organic milk such as Organic Valley Grassmilk (ideally the whole milk version) will also be essential in ensuring the healthiest, most digestible, and best tasting kefir. If you still prefer a milk alternative however, a homemade nut milk, seed milk, or coconut milk can be used with similarly tasty, health-promoting results (see the additional tips below for more info).
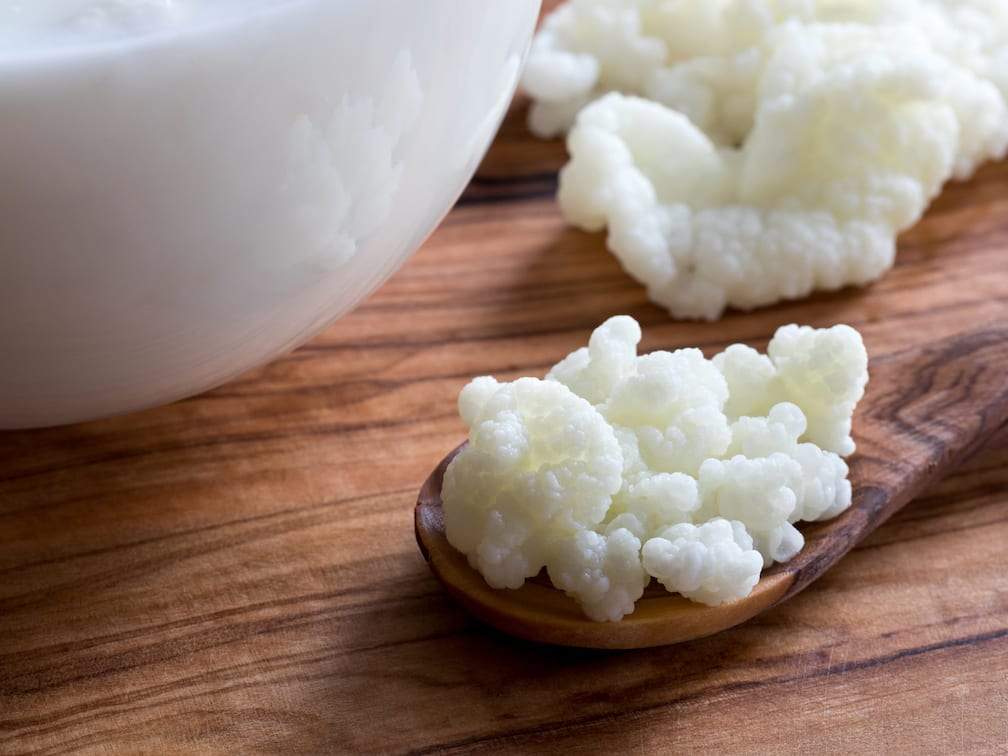
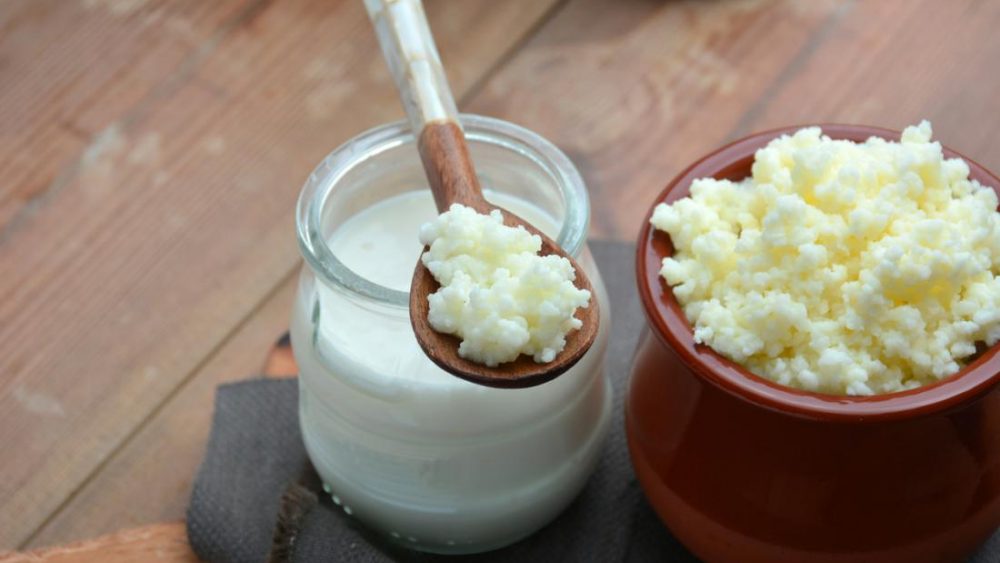
Making kefir is extremely simple, requiring very little effort and minimal prep time. The fermentation process generally takes about 1 to 3 days depending on your desired taste and fermentation results and is done using a living kefir grain culture that is made up of lactic acid bacteria and healthy yeast strains. The final result is a drinkable yogurt-like beverage that is a bit tart, a bit sweet, slightly carbonated, creamy, and delicious. If plain kefir does not float your taste bud boat, do not fret! There are many flavorful additions to add such as honey, maple syrup, cinnamon, mesquite powder, cardamom, cacao powder, shredded coconut, and vanilla extract to name a few.
Important note: Although blending the plain kefir with fruit would be tasty, it is strongly not recommended since the combination of fruit and dairy should never be taken in at the same time. This is considered a very harmful food combination and will cause digestive imbalances rather than promote digestive health. Read more on the Improper Food Combinations here.
Purchase Live Kefir Grains here.*
*This is an affiliated link, but is honestly where I purchased my grains back in 2018. . . and I am still using the same batch today!

Homemade Kefir Recipe
Purchase Live Kefir Grains here.*
*This is an affiliated link, but is honestly where I purchased my grains back in 2018. . . and I am still using the same batch today!
Click here for a printable copy of this recipe.
- Doshic effect: Vata ↓, Pitta ↓, Kapha ↑↓
- Makes: 4 cups or more
- Prep Time: 15 minutes
- Culture Time: 24 to 36 hours
Materials
- Clean and sterile wide-mouthed glass jar such as a ball jar (this can be a pint, quart or half-gallon size depending on your preference and needs)
- Thin dishcloth (to cover the jar)
- Rubber band
- Clean spoon
- Fine mesh strainer or cheesecloth
Ingredients
- Organic, high-quality whole milk (I prefer the non-homogenized Organic Valley Grassmilk)
- 2 tablespoons of fresh kefir grains for every 4 cups of milk (I got mine online here; please do not use a dry powdered culture!)
Click here for a printable copy of this recipe.
Directions
1. Before beginning make sure the glass jar and stirring spoon are clean and sterile. Once the materials are ready, pour the kefir grains into the glass jar using 2 tablespoons of grains for every 4 cups of milk.
2. Add in the milk until the jar is just about full, leaving about 2 to 3 inches of space from the top of the jar. This space is needed, as the fermentation process often makes the liquid expand due to the carbonation and the proliferation of the grains (yes, a healthy culture will grow and multiply with each batch).
3. Cover the jar with the thin dish towel, using a rubber band to tightly secure it (make sure there are no holes or openings for fruit flies to sneak in).
4. Leave the jar out at room temperature* for 1 to 3 days, depending on your taste preferences and the temperature of your kitchen. The longer the fermentation time, the more sour (and less sweet) the drink will become. The hotter the temperature, the quicker the fermentation will occur. I typically allow 2 days of fermentation time in the winter and 1 day in the summer.
*The ideal temperature will be between 70 and 75 degrees. If it is warmer than 75 degrees, less fermentation time will be needed. If it is cooler, a bit more fermentation time will likely be needed. I often will place the jar on the stove (away from the burners) during the winter to allow a bit more warmth.
5. Once the desired fermentation point has been reached, pour the finished kefir through a fine mesh strainer or clean cheesecloth and into another wide-mouthed jar…
Congratulations, you have made your first batch of homemade kefir!
How long will your finished kefir keep in the refrigerator?
The finished kefir can be kept in an airtight jar in the refrigerator for an average of 2 to 3 weeks without spoiling, although a very slow fermentation process will continue and make it more sour and carbonated over time. It is most recommended to eat this within 7 days to keep the qualities fresh, sweet, and full of life-promoting Prana!
How do you store the remaining kefir grains?
The strained kefir grains can be placed in an air-tight small glass jar, completely covered in fresh milk, and kept in the refrigerator for up to 3 weeks. I often will place them directly into a half gallon glass jar to begin a new batch of kefir straightaway. This is the best way to ensure healthy grains and will create a steady supply of homemade kefir!
Additional Tips
- Looking to jazz up your plain kefir? Some great additions include maple syrup (best for Pitta and Vata), honey (best for Kapha and Vata), fresh ground flax seed, shredded coconut, mesquite powder, vanilla extract, cacao powder, and/or chia seeds. Spices can also help add a more pleasurable flavor (and more health benefits!) such as cinnamon, cardamom, ginger, turmeric, saffron, or roasted cumin seed.
- Kapha types should drink the kefir mixed with water (1 part water to 1 part kefir) and add a teaspoon of honey, a small pinch of black pepper, and a large pinch of ginger to reduce the Kapha-promoting qualities of the dairy. If this is still too much, it is recommended to use goat milk or a non-dairy alternative such as homemade almond milk or hemp milk (click here for our recipe).
- Pitta types should avoid fermenting the kefir for more than 2 days, as this will increase the heating qualities and Pitta-provoking sour taste of the beverage.
- One should take 4 ounces of the kefir, 1 to 2 times daily for promoting healthy gut flora and treating digestive issues.
- When using a non-dairy alternative, one should soak the grains in dairy milk between batches to ensure healthy, active kefir grains. The first batch may need to be done using dairy milk as well since they can be sometimes a bit weak when they are initially received. Otherwise, making them using a (preferably homemade) nut, coconut, or seed milk is a great option!
- Kefir can be taken directly after a meal with a pinch of roasted cumin seed to promote healthy digestion (similar to a lassi beverage).
- Never take kefir with fruit as this is considered an Improper Food Combination and will lead to further digestive issues and toxic accumulation in the GI tract.
- Kefir is safe for children and can be taken in small amounts from 1 year on.
- Kefir is safe and highly recommended to take during pregnancy and postpartum.
Discover more healing recipes with my 30-Minute Ayurvedic Cookbook!*
Discover over 100 herbal remedies in my Ayurvedic Herbal Medicine for Beginners book!*
*By ordering directly through these links, you are helping to support Svastha Ayurveda – Thank you!!


Hey there!
Just ordered my grains and look forward to trying this out as it was recommended to me during pregnancy. Are the instructions the same for using raw milk from my local farm or do I need to boil the milk first, Ayurvedically speaking?
Thanks so much!
Hi Alli,
Thank you for your question! I am excited that you have ordered your grains. Kefir is very beneficial during pregnancy and the postpartum period, so I hope you enjoy!
Using raw milk is generally alright when making the kefir, and I have done it many times myself. It is said that raw milk contains bacteria that has the potential to overpower the bacteria of the kefir culture; however, I have never had any issues. It is something to consider and you may wish to boil the milk while you are pregnant to be on the safe side.
In terms of Ayurveda, boiling milk is not harmful and can make the milk more digestible. However, fresh, raw milk is very nutrient rich and can be very healing as long as you digest the milk well.
Many blessings to you and your baby:)
Namaste,
Danielle
I have wanted to make kefir for so long; thank you for these simple directions! I think the main challenge for me would be determining when the kefir grains used to make successive batches become inviable. Also, can the container of unused grains be stored indefinitely while remaining viable?
Hi. I’m looking to start fermenting my own kefir at home. If I have raw milk from the farm, do I need to boil the milk and cool it before adding to the grains? Thank you!
Hi Natalia,
Thank you for your great question! It is up to your comfort level if you want to heat (and cool) the milk before making it into kefir. I personally have been making my kefir with raw goat milk for over a decade, and have never had any issues with contamination. Some people do recommend this step to avoid spoiling the grains, but I have found it unnecessary.
I hope this helps!
EnJOY:)
Namaste,
Danielle